Wednesday 8 June 2016

4 Quick and Easy Festival Hairstyles


Festival season is just around the corner and I am so excited, i'm not surprised if many of you want to have as much fun as possible dancing your heart out to your favourite songs and sing till your throat hurts. If you are like me then the last thing you want to do is spend time on your hair or even if you don't go camping or to festivals these 4 quick and easy hairstyles are perfect for summer using the same beautiful flower crown incorporated into each. I like to experiment a lot with different hairstyles and i find summer to be the perfect time to use your imagination and be brave with what you do. I would also like to say these hairstyles can be worn whenever you want you can take away and add anything you like to fit with the time of year.

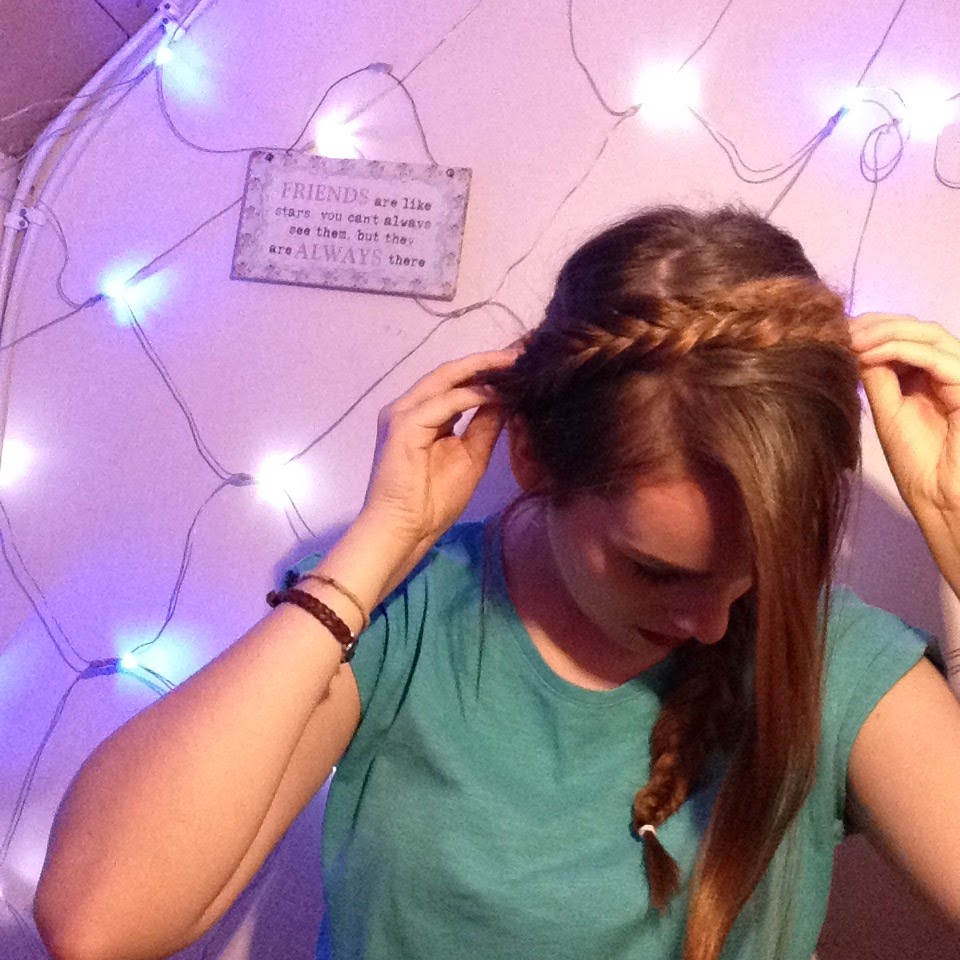
First is two simple french braids with the flower crown braided into it. I would usually do this before i go when my hair is still damp so that when i come to taking it out my hair has a gorgeous natural wave. The flower rown adds a special touch to give something a little plain and simple more life and colour. My advice is to take it out on a night and rebraid it without the the flowercrown to sleep on it overnight that way the waves will stay in without you being uncomfortable. If you wish to use a different flowercrown you may and will look just as pretty or even some fresh flowers picked from the field.

Next I am using the waves to their full potential on the first day by having it down and placing the flower crown on top, again you can you choose a different flowercrown or not waer one at all, it will look amazing either way. As i am slowly growing out a side fringe and don't like it in my face a lot of the time i just wrapped it around the flowercrown and place grips on both sides of it for extra security.

For my third hairstyle I decided to ditch the flowercrown and do half up buns, I find it to be a quirky alternative to the classic half up bun, it also works on all hair lengths and styles that could be curly, straight, short, or long. Following the normal instructions for a half up bun but splitting your hair in two beforehand. If you add a little dry shampoo you can stretch that dreaded greasiness, especially if you are in the middle of nowhere with no way to wash your hair. 

Lastly is the classic messy bun and the battle of the greasy hair, dry shampoo will be your best friend to get through the day use it on the roots to give the hair some more volume. Do however you like but i prefer to put it in a loose ponytail twist it roughly and wrap it around the bobble and put some grips in to hold in place. Once you are happy with what you have created and feel free to redo it as many times as necessary, i know i do, place a flower crown on top to hide the bits of greasy hair that escaped from the dry shampoo.

I really hope you find this useful for any future summer plans, i would love to know if there is anything you want me to do and i will see you next time.

Mia x

Monday 29 February 2016

Mini white chocolate and raspberry cheesecakes!

I thought i would share my favourite cheesecake recipe with you as it is so delicious and easy to make for anyone who is having a party or just wants to make something because they're bored. These cheesecakes are an alternative to making a whole cheesecake so i hope you like them. (makes 8-10)

What you will need;
100g of plain digestives
40g of melted unsalted butter
125g of soft cheese (full fat)
125g marscarpone
140 ml of double cream
150g white chocolate
as many raspberries as you want!

First you want to crush the biscuits into a powder and mix in the melted butter. Push a layer of the mixture around half a centimetre thick into the bottom of the ramakins (or time if you decide to make a whole cheesecake)to make sure you have enough i hold them up to the light if they have clear bottoms, if the light shines through put some of the mix over that spot .Then put them into the frige to set.

Mix together the soft cheese marscarpone  and double cream, make sure to use a big bowl it gets a bit messy. Melt the chocolate however you like and mix with the soft cheese marscarpone and double cream. make sure to mix it as soon as possible as the chocolate can set quicklyin the mixture.

Take the ramekins out of the fringe and place a few raspberries in the bottom of the pot. Spoon over the creamy chocolaty mixture and place any left over rasperries on top. Put them in the fridge for AT LEAST 5-6 hours or overnight. 

Enjoy! Mia x

Saturday 21 November 2015

Fishtail Milkmaid Braid

Hi Everyone,
 
I have been loving this hairstyle lately because it adds a unique twist to the original milkmaid braid so I hope you like it.


 To start slip your hair down the back roughly in the middle leaving your natural parting, pin one half out of the way and slit the other section into two.
From the top section take a piece and bring it away from the face down to the bottom section.
Then from the bottom section bring a small piece away from the face up to the top.

Repeat this action until you get to the end of your hair and secure it with an elastic hair bobble. Do the same with the other half of the hair.

 Next pull at the braid to loosen it a little bit and make it wider. This will create a softer hair look and not perfectly neat.


After you have done that wrap one of the braid over the top of your head and pull some hair from the other side over the top of the end of the braid to hide the end and pin it in place. Do the same with the other braid but tuck the end underneath the first braid that was pulled over.

Pull some pieces from your hairline to create a more natural soft look. I have also curled them slightly and this way it can be used as an evening look also.If you have short hair you could also wrap the braids around the back of you hair at the bottom of your hairline if the braid don't reach all of the way over your head.
I hope you use this hairstyle and please comment with anything you would like me to do.
Until next time Byee xx


Sunday 18 October 2015

Dead stitched mouth makeup

Hi again,

For my second post I am doing a Halloween makeup tutorial. Hope you like it.

Step 1 ; Start by applying your favorite moisturiser onto a make-up free face. I am using my Simple oil balancing moisturiser.

Step 2 ; Apply a foundation that matches you skin tone or your regular foundation.For this step I am using the Bourjois healthy mix foundation and blending it in with a foundation brush.(Sorry about my eyes).Then add a translucent powder to set it. 


Step 3 ; Next you will want to contour using a matte dark brown powder in the hollow of your cheeks the sides of your nose and above and blow your colour bones for the first part. Then you want to use a highlighter on the bridge of the the nose, cheekbones and on your collarbones. For this I have used Tanya Burr's 'Perfect Brows' palette in the colour 'hot cocoa' for the contour and 'fairy cake' for the highlight. To do this I have used my Bare Minerals flawless face brush. (yes I know my collar bones are not showing)

Step 4 ; This step is fairly easy so to do it you will use the same contour under the eyes in the crease and on the eyelid then a highlight on the brow bone. For this I used a blush and                  eye shadow brush that I have honestly no idea what it is called as I have had it for so long.

Step 5 ; For this next step you will want a dark red lipstick or lip                  crayon. Apply a line on the inside of your top and bottom lips. For this I am using my red Jack Wills lip crayon.

Step 6 ; To start with use a black liquid liner to draw a thin line on the bottom lip where the top and bottom join. Then draw a line on both sides from the corner of the mouth to the top                  of the hollow of your cheek essentially where your did the contour. For this I used my Rimmel London liquid                            eyeliner.


Step 7 ; Now start by placing a small dot in the bottom of your cupids bow and work along the top of your line following the outline onto the black line you drew . repeat this but on the underside of your lip and the line.                    After you have complete this join the dot at the top with the one below this will create the stitched effect.


 Step 7; For added effect i used a lip brush and the same lip crayon on the top and bottom of each stitch to create the idea that it was bleeding. 


And this is the final look:

For the I put it in loose waves and then split my hair down the middle and put it up in bunches them backcombed the bunches and pulled at pieces of hair to make it look messy.

 If you want a full tutorial on this please leave a comment and I will try my best to make it happen. Byee xx


A Little Bit About Me

Hi, 

I have started this blog because sometimes i just want to release all of my feelings or post random things. Maybe beauty things and baking recipes.


I know that when I look back at this in a few years it will be really cringy and i will most likely regret what I have written but that's okay i'm only thirteen. 


Anyway I have no idea what this will turn out to be, it may fail after a few weeks, so I wouldn't expect much. I any of you have any advice at all about blogging please comment as I am really new to all of this and I have absolutely no clue as to what I am doing.

One thing always to keep in mind is that at first posts will be at any random time and not in a certain schedule as to when i need to post anything. 

My next post will be VERY soon as I already have everything prepared and it will most probably writing at after this.

So until next time byeee xx